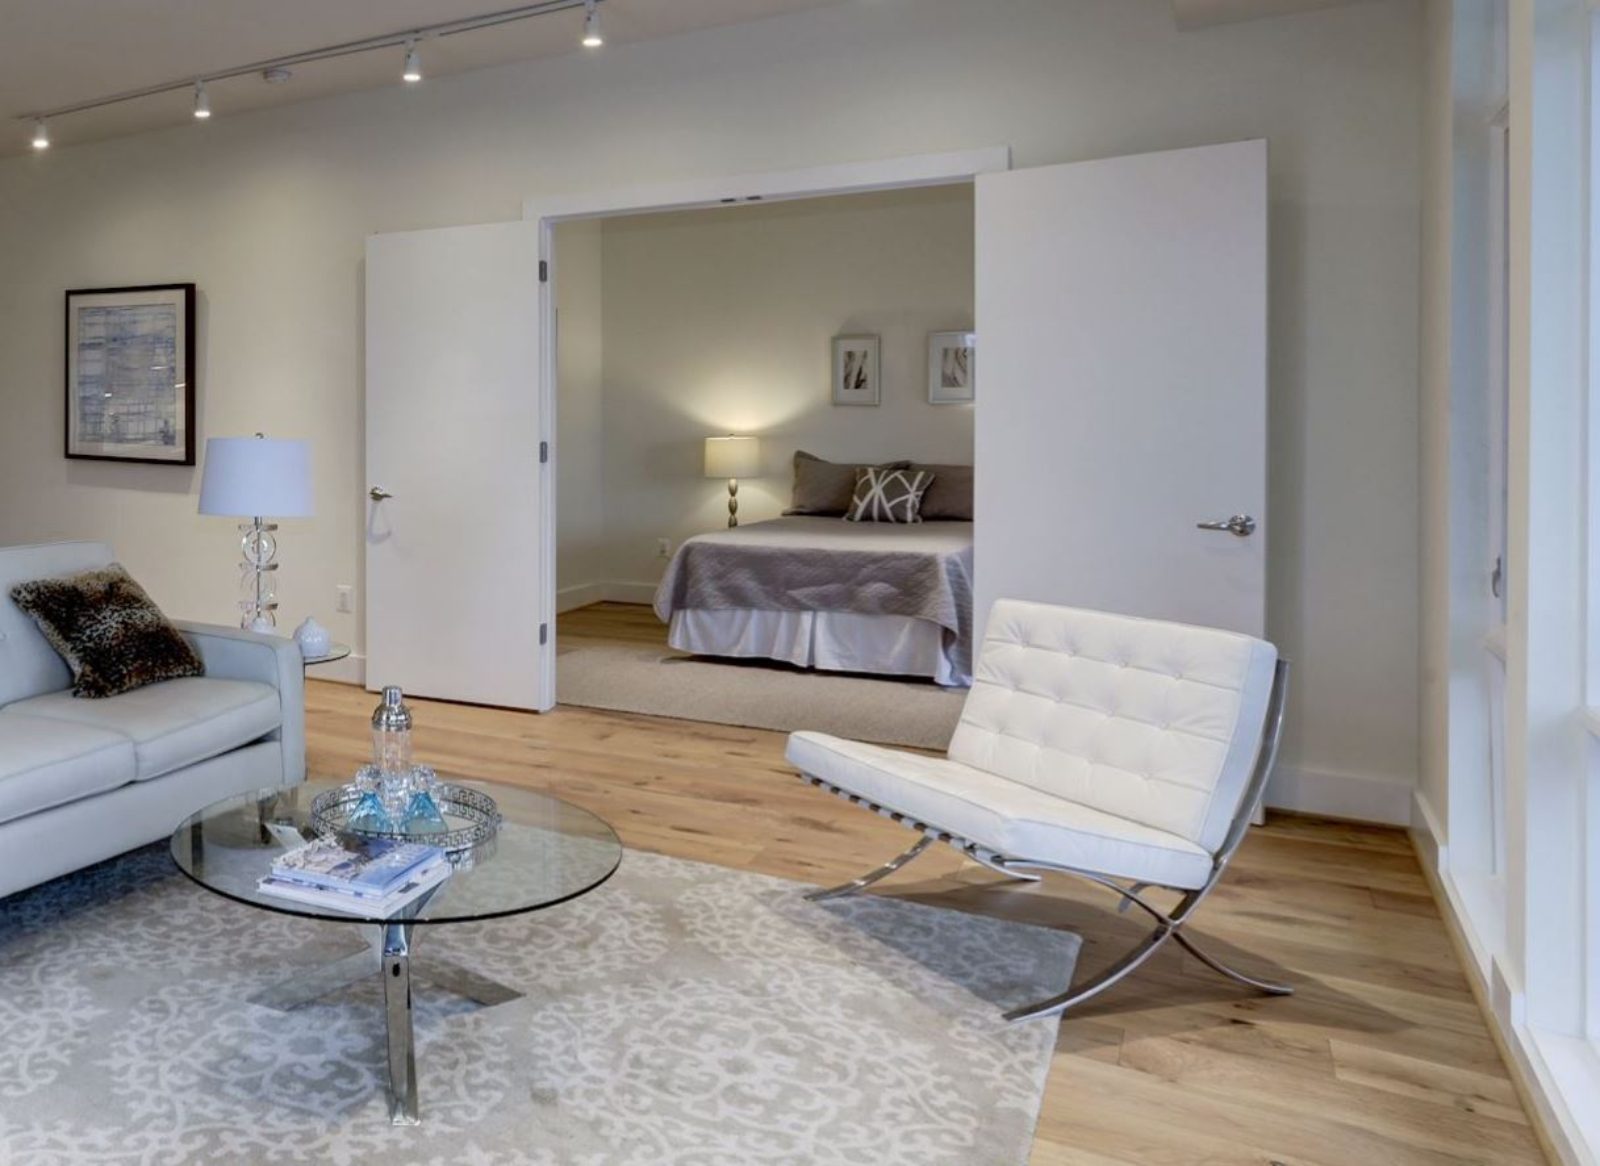
Interior French Doors
Providing Privacy While Maintaining Openness
Small rooms usually feel more spacious when they are open to one another. Designers of new town houses often use this idea and incorporate arched or square openings between the living and dining areas so each room “borrows” space from the other.
When the two rooms are used simultaneously for different purposes, such as when adults are entertaining in one room while children play in the other, a degree of separation is necessary. French doors that swing out of the way when not in use are one way to provide some measure of privacy while preserving a feeling of openness.
Using interior French doors has many precedents in this area. It is not uncommon to see these doors between the rooms of older homes or between the hallway and front parlor or living areas of city row houses. In some cases, the doors are hinged and in the others the doors slide into pockets within the wall.
In the example illustrated here the two standard, pre-hung 30-inch doors are set within an existing arched opening and hinged to open 180 degrees so they can swing back against the living room wall. That wall is finished with several pieces of vertical and horizontal wood trim to suggest wall paneling that helps to integrate the doors and wall surface.
The part of the arched opening above the doors is filled in with finished plywood. Although the doors can be pocketed, this would require structural and framing modifications to the wall and is a more difficult project.
This design is relatively simple and probably can be accomplished by a homeowner with some carpentry experience. The doors are available as a pre-hung unit, already hinged and attached in a frame.
As shown in the plan, the new door unit is a centered in the opening in the living room wall. Since the original opening was six feet wide, 2-by-4 studs are used to make a new framed opening of 5 feet 2 1/2 inches, which is approximately the required rough framing opening for this size door unit.
The opening is being filled in, not structurally modified, so the existing support or header above the door can stay in place. But new 2-by-4 framing must be installed above the door, at a height of about 6 feet 10 1/2 inches, to help support to the top of the door frame. Framing requirements vary among door manufacturers, so these critical dimensions should always be checked before any framing is done. “Nailers,” short lengths of 2-by-4s to support the arch fillers, also are necessary.
Setting the door unit in place can be tricky because it is heavy and shift out of alignment during installation. Special attention should be directed to making sure the unit is level and plumb (straight up and down) in the opening to ensure smooth operation of the doors.
Once the door unit is set and the sides and the sides shimmed and nailed, the trim is installed. The arch is filled in with finish plywood, cut to the arch’s curve. Next, 1-by-3 trim is nailed along the wall at the top, called the head, of the door.
Vertical lengths of 1-by-4 trim finish off the sides of the unit. Similar pieces are nailed on the wall, 30 inches away from the unit, to form the trim. Finally, new base trim must be installed wherever old sections were removed.
Norman Smith practices in the Washington area. For help with your design problems, send snapshots and dimensions to him in care of info@taurusdev.com
